Kia Forte: Vehicle to vehicle distance setting / SCC (smart cruise control) malfunction message
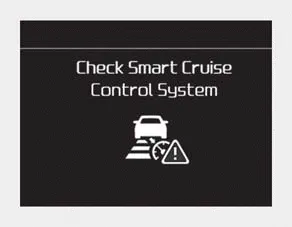
■ Type A
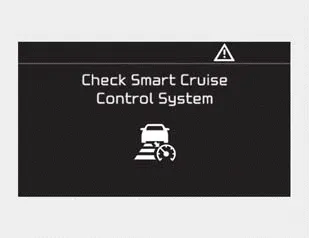
■ Type B
The message will appear when the vehicle to vehicle distance control system is not functioning normally.
In this situation, take your vehicle to an authorized Kia dealer and have the system checked.
CAUTION
- Do not install accessories around the sensor and do not replace the bumper by yourself. It may interfere with sensor performance.
- Always keep the sensor and bumper clean. • Use only a soft cloth to wash the vehicle. Do not spray pressurized water directly on the sensor or sensor cover.
- Be careful not to apply unnecessary force on the radar sensor or sensor cover. If the sensor is forcibly moved out of proper alignment, the Smart Cruise Control System may not operate correctly. In this situation, a warning message may not be displayed. Have the vehicle inspected by an authorized Kia dealer.
- Do not damage the sensor or sensor area by a strong impact. If the sensor moves slightly off position, the smart cruise control system will not operate correctly without any warning or indicator from the cluster. If this occurs, take your vehicle to an authorized Kia dealer and have the system checked.
- Use only a genuine Kia sensor cover for your vehicle. Do not paint anything on the sensor cover.
- If the front bumper becomes damaged in the area around the radar sensor, the Smart Cruise Control System may not operate properly.
■ Type A ■ Type B When the sensor lens cover is blocked with dirt, snow, or debris, the Smart Cruise Control System operation may stop temporarily.
The sensitivity of vehicle speed when following the front vehicle to maintain the set distance can be adjusted. Go to the User Settings Mode (Driver Assistance) and SCC Reaction.
Other information:
Kia Forte 2019-2024 (BD) Owner's Manual: Tire terminology and definitions
Air Pressure: The amount of air inside the tire pressing outward on the tire. Air pressure is expressed in kilopascal (kPa) or pounds per square inch (psi). Accessory Weight: This means the combined weight of optional accessories. Some examples of optional accessories are, intelligent variable transmission, power seats, and air c
Kia Forte 2019-2024 (BD) Owner's Manual: Day time running lamp (Bulb type), Side repeater lamp (LED type) bulb replacement,
Day time running lamp (Bulb type) replacement If the Day time running lamp (DRL) (1) does not operate, have the vehicle checked by an authorized Kia dealer. Side repeater lamp (LED type) bulb replacement If the side repeater lamp (LED) (1) does not operate, have the vehicle checked by an authorized Kia dealer.
Categories
- Manuals Home
- Kia Forte Owners Manual
- Engine coolant
- Normal Maintenance Schedule - Non Turbo Models
- Maintenance
- New on site
- Most important about car
