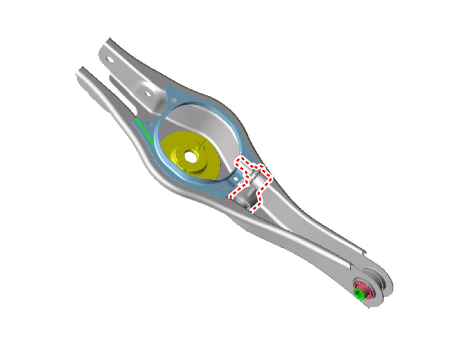
Kia Forte: Rear Suspension System - Multi link / Rear Lower Arm
Repair procedures
| Removal and Installation |
| 1. |
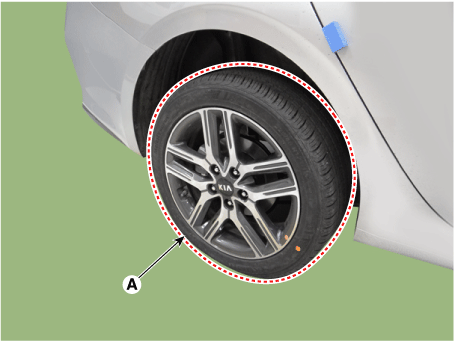
Remove the rear wheel and tire (A).
|
| 2. |
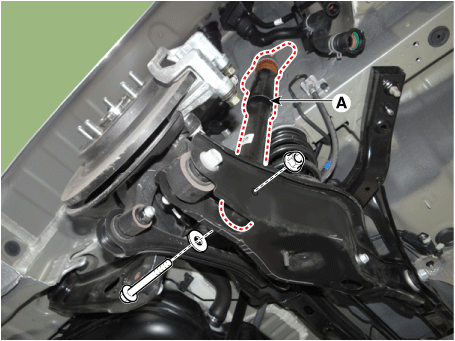
Separate the rear shock absorber (A) from the rear carrier by loosening the lower mounting bolt and nut.
|
| 3. |
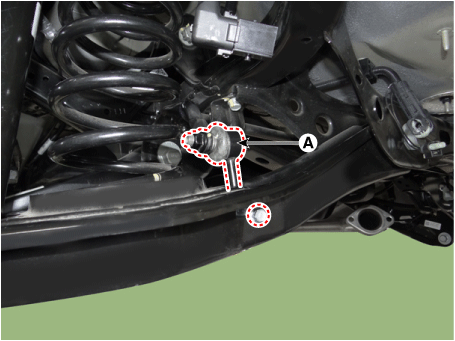
Separate the rear stabilizer link (A) by loosening the nut.
|
| 4. |
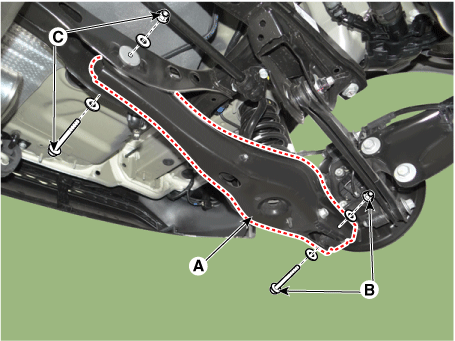
Remove the lower arm (A) by loosening the bolts and nuts.
|
| 5. |
Remove the stabilizer link from the rear lower arm.
|
| 6. |
Install in the reverse order of removal. |
| 7. |
Check the wheel alignment. (Refer to Rear Suspension System - "Rear Alignment") |
| Inspection |
| 1. |
Check the bushing for wear and deterioration. |
| 2. |
Check the rear lower arm for deformation. |
| 3. |
Check for all bolts and nut. |
| 4. |
Check the cracks or the cutting of the lower. |
 Rear Upper Arm
Repair procedures
Removal and Installation
1.
Remove the rear wheel and tire (A).
Tightening torque :
107.9 - 127.5 N·m (11.0 - 13.0 kgf·m, 79 ...
 Rear Stabilizer Bar
Repair procedures
Removal and Installation
1.
Remove the rear wheel and tire (A).
Tightening torque :
107.9 - 127.5 N·m (11.0 - 13.0 kgf·m, 79 ...
Other information:
Kia Forte 2019-2025 (BD) Service Manual: Compressor
Description and operation Description The compressor is the power unit of the A/C system. It is located on the side of engine block and driven by a V-belt of the engine. The compressor changes low pressure and low temperature refrigerant gas into high pressure and high temperatu ...
Kia Forte 2019-2025 (BD) Owners Manual: Limitation of the system
The FCA system is designed to monitor the vehicle ahead through camera recognition to warn the driver that a collision is imminent, and if necessary, apply emergency braking. In certain situations, the camera may not be able to detect the vehicle ahead. In these cases, the FCA system ...

