Kia Forte: Tailgate / Tailgate Assembly
Components and components location
| Component Location |
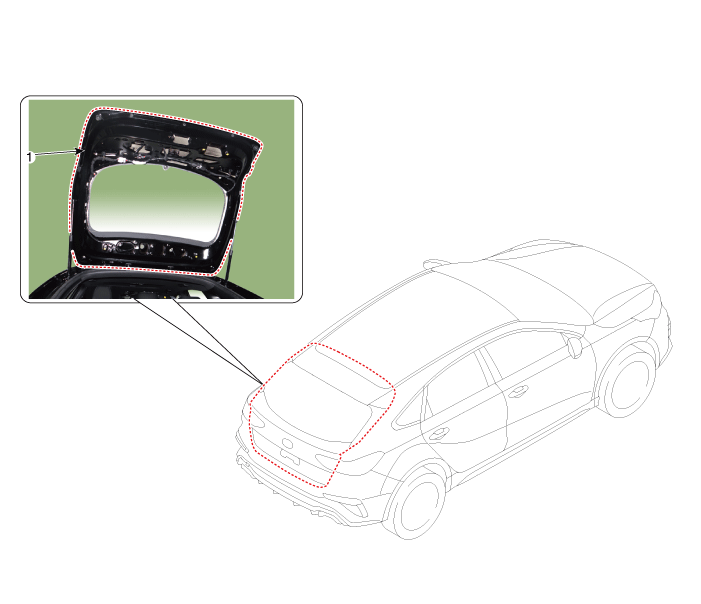
| 1. Tailgate assembly |
Repair procedures
| Replacement |
Wear gloves to protect hands from injury. |

When removing and installing the tailgate, an assistant is necessary. |

| 1. |
Remove the tailgate upper trim. (Refer to Tailgate - "Tailgate Trim") |
| 2. |
Remove the tailgate side trim. (Refer to Tailgate - "Tailgate Trim") |
| 3. |
Remove the tailgate trim. (Refer to Tailgate - "Tailgate Trim") |
| 4. |
Using a screwdriver, lift the socket clips (A) up slightly on both ends of the liftgate lifter (B).
|
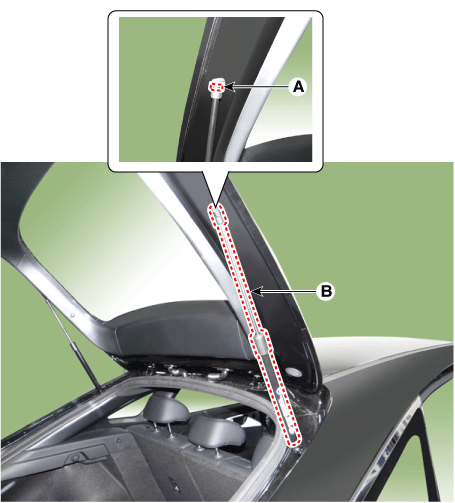
| 5. |
Disconnect the connectors and liftgate wiring harness (A). |
| 6. |
After loosening the mounting bolts, then remove the liftgate assembly (B).
|

| 7. |
To install, reverse removal procedure.
|
 Tailgate
Repair procedures
Adjustment
1.
After loosening the tailgate hinge (A) mounting bolt, adjust the tailgate
by moving it up or down, or right or left.
...
 Tailgate Trim
Components and components location
Component Location
1. Tailgate trim
Repair procedures
Replacement
&nb ...
Other information:
Kia Forte 2019-2025 (BD) Owners Manual: Notes on the safe use of the Tire Mobility Kit
Park your car at the side of the road so that you can work with the Tire Mobility Kit away from moving traffic. To be sure your vehicle will not move, even when you're on fairly level ground, always set your parking brake. Only use the Tire Mobility Kit for sealing/inflat ...
Kia Forte 2019-2025 (BD) Owners Manual: To convert to cruise control mode
The driver may choose to only use the cruise control mode (speed control function) by doing as follows: 1. Turn the smart cruise control system on (the cruise indicator light will be on but the system will not be activated). 2. Push the distance to distance switch for more than 2 s ...
