Kia Forte: Front Suspension System / Front Lower Arm
Repair procedures
| Removal and Installation |
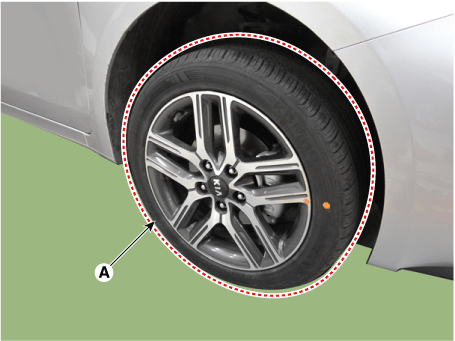
| 1. |
Remove the front wheel and tire (A).
|

| 2. |
Remove the lower arm nut (A).
|
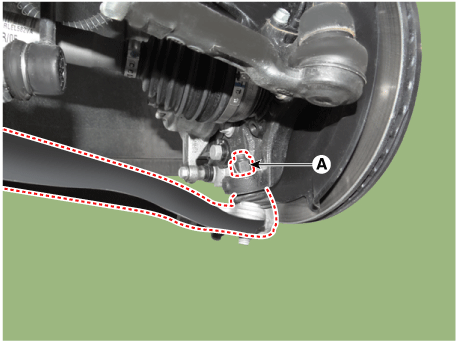
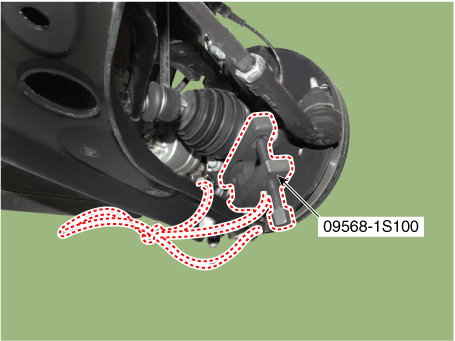
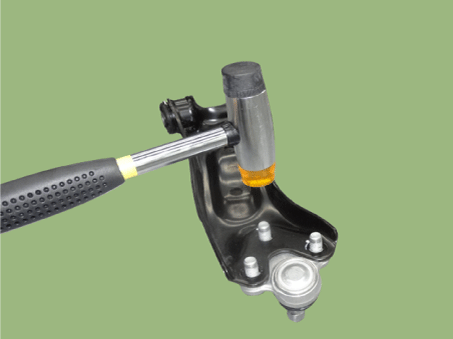
| 3. |
Detach the front lower arm from the front knuckle using the SST (09568-1S100).
|
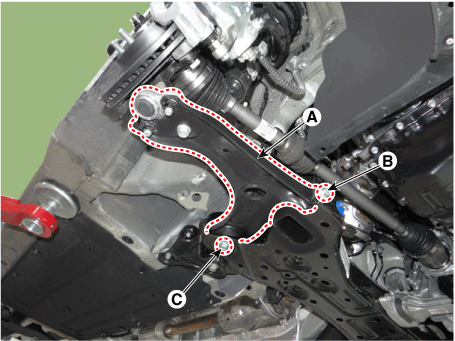
| 4. |
Remove the lower arm (A) from the sub frame.
|
| 5. |
Install in the reverse order of removal. |
| 6. |
Check the wheel alignment. (Refer to Front Suspension System - "Front Alignment") |
| Disassembly |
| 1. |
Disconnect the ball joint after loosening the nut (A).
|
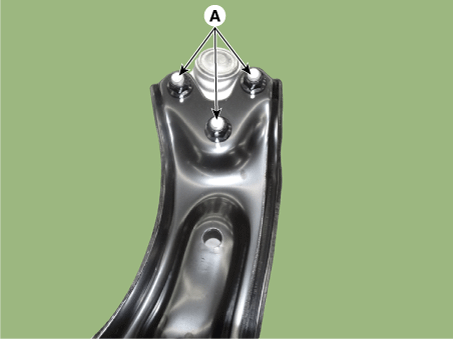
| 2. |
Install a new ball joint and then tighten the nut (A).
|
| Inspection |
| 1. |
Check the bushing for wear and deterioration. |
| 2. |
Check the lower arm for bending or breakage. |
| 3. |
Check the lower arm for deformation. |
| 4. |
Check all bolts and nuts. |
| 5. |
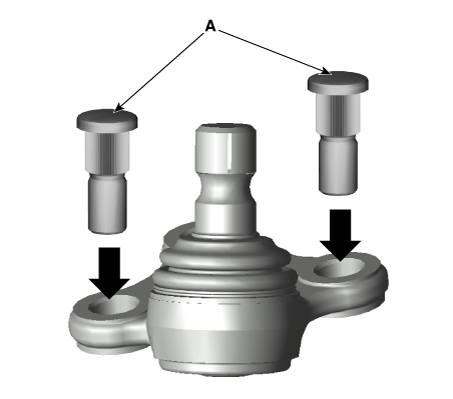
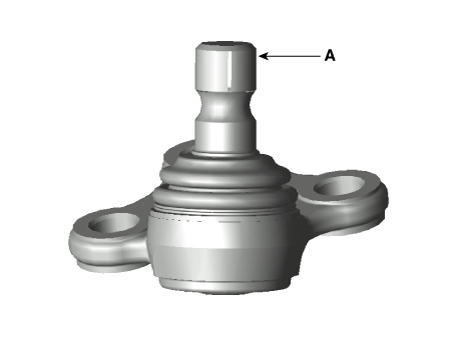
Check the ball joint rotating torque. If there is an abnormality, replace the ball joint.
|
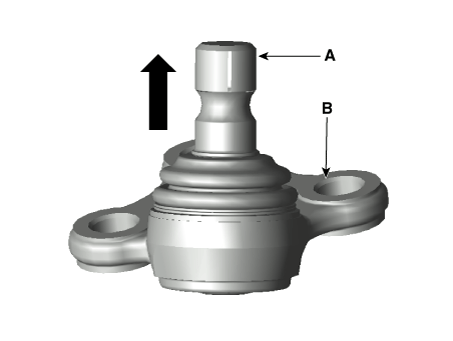
| 6. |
Check the ball stud(A) axial free play, In case of any free play exist, replace the ball joint(B).
|
 Front Strut Assembly
Components and components location
Components
1. Strut assembly
2. Spring lower pad
3. Coil spring
4. Dust cover
5. Bumper stopper
6. Spring upper pa ...
 Front Stabilizer Bar
Repair procedures
Removal and Installation
1.
Remove the front wheel and tire (A).
Tightening torque :
107.9 - 127.5 N·m (11.0 - 13.0 kgf·m, 79. ...
Other information:
Kia Forte 2019-2025 (BD) Service Manual: Purge Control Solenoid Valve (PCSV)
Specifications Specification Item Specification Coil Resistance (Ω) 18.5 - 22.5 [23°C(73.4°F)] Description and operation Description Purge Control Solenoid Valve (PCSV) is installed on the surge tank ...
Kia Forte 2019-2025 (BD) Service Manual: Steering Wheel Remote Controller (SWRC)
Components and components location Components 1. Left remote control switch (Audio + Bluetooth + Voice) 2. Right remote control switch (Trip Computer + SCC) Schematic diagrams Circuit Diagram [Audio + Bluetooth + Voice] ...
