Kia Forte: Trunk Trim / Rear Transverse Trim
Components and components location
| Component Location |
[4 Door]
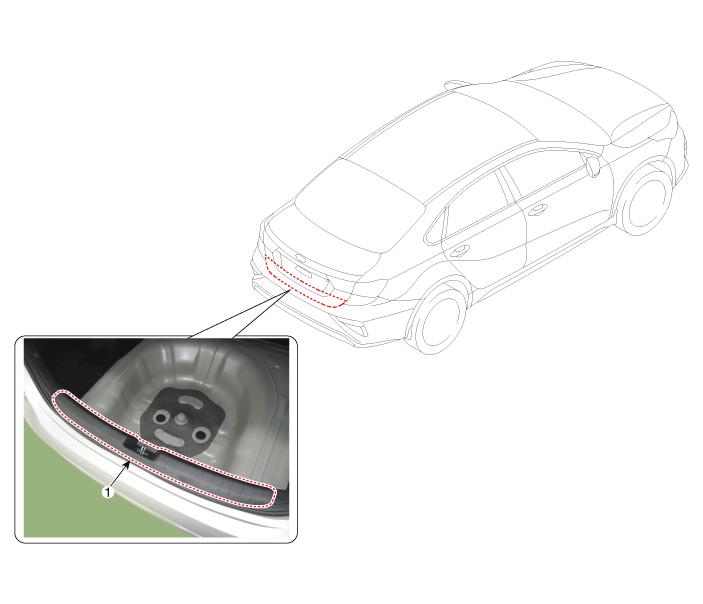
| 1. Rear transverse trim |
[5 Door]
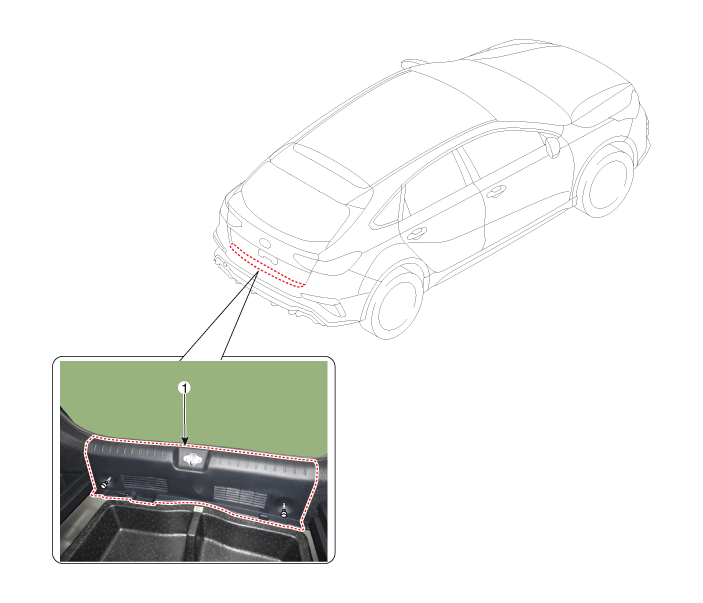
| 1. Rear transverse trim |
Repair procedures
| Replacement |
[4 Door]
Put on gloves to prevent hand injuries. |
|
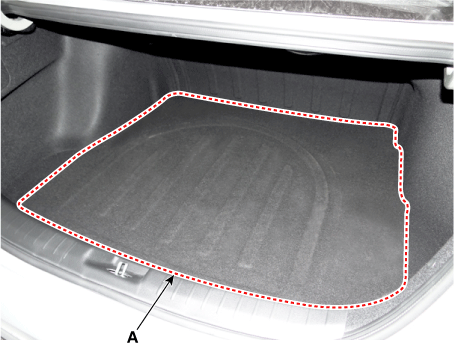
| 1. |
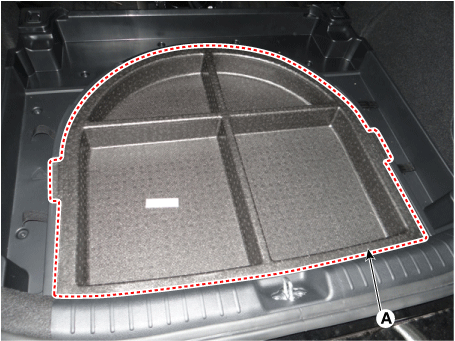
Remove the luggage boad (A).
|
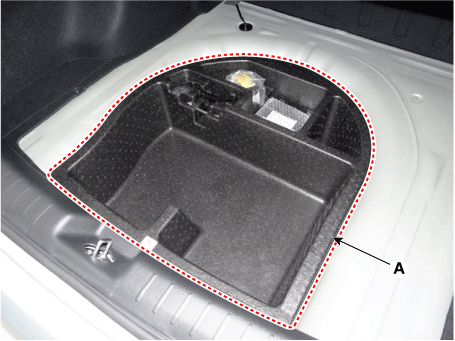
| 2. |
Remove the luggage center tray trim.
|
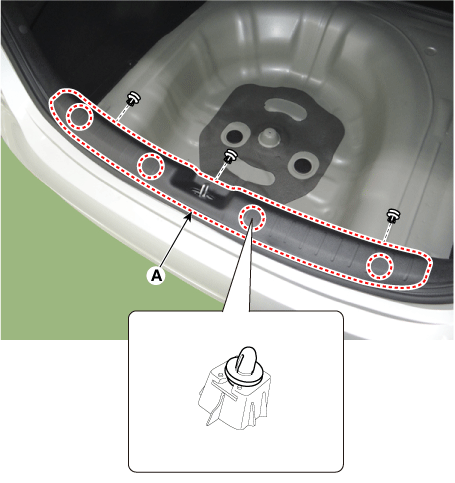
| 3. |
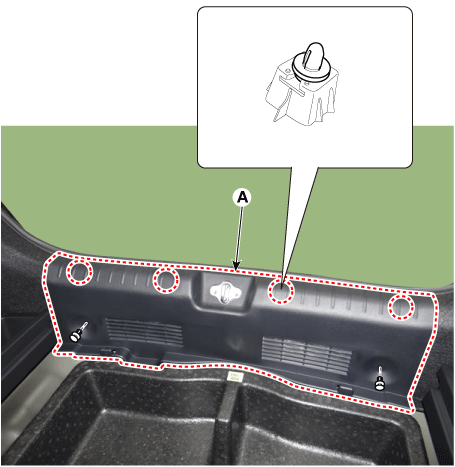
Loosen the mounting clips and remove the rear transverse trim (A).
|
| 4. |
To install, reverse the removal procedure.
|
[5 Door]
Put on gloves to prevent hand injuries. |
|
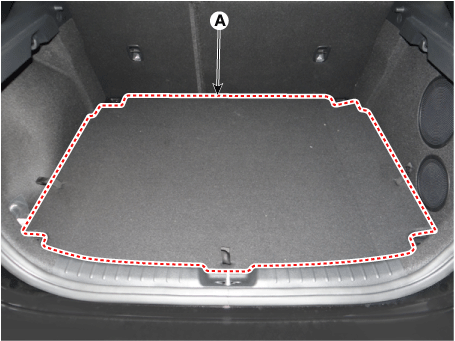
| 1. |
Remove the luggage covering board (A).
|
| 2. |
Remove the luggage floor rear tray assembly (A).
|
| 3. |
Loosen the mounting clips and remove the rear transverse trim (A).
|
| 4. |
To install, reverse removal procedure.
|
 Trunk Trim
Components and components location
Components
[4 Door]
1. Rear transverse trim
2. Luggage covering mat
3. Luggage side trim [LH]
4. Luggage side tri ...
 Rear Package Tray Trim
Components and components location
Component Location
1. Package tray trim
Repair procedures
Replacement
&nbs ...
Other information:
Kia Forte 2019-2025 (BD) Service Manual: Master Cylinder
Components and components location Components 1. Reservoir cap 2. Reservoir 3. Reservoir 4. Grommet 5. Master cylinder Repair procedures Removal and Installation 1. Remove the battery. G 1.6 MPI (Refer to Engi ...
Kia Forte 2019-2025 (BD) Owners Manual: Headlamp (LED type) replacement (Headlamp Type C)
If the Low/High beam lamp(1), Day time running lamp/Position lamp(2), side marker(3) do not operate, have the vehicle checked by an authorized Kia dealer. The LED lamp cannot be replaced as a single component because it is an integrated unit. The LED lamp has to be replaced with the ...


