Kia Forte: Gauges / Odometer, Outside Temperature Gauge
Odometer
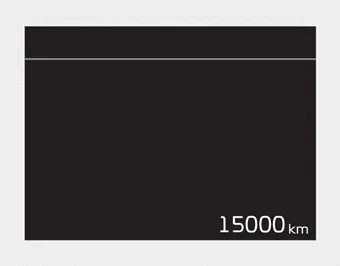
Odometer
The odometer indicates the total distance the vehicle has been driven.
You will also find the odometer useful to determine when periodic maintenance should be performed.
- Odometer range :
0 ~ 1,599,999 km or 0 ~ 999,999 miles.
Outside Temperature Gauge
This gauge indicates the current outside air temperatures by 1°C (1°F).
- Temperature range : -40°C ~ 85°C (- 40°F ~ 211°F)
The outside temperature on the display may not change immediately like a general thermometer to prevent the driver from being inattentive.
To change the temperature unit (from °C to °F or from °F to °C)
• Type A Cluster
Press the TRIP button for 5 seconds and more.
• Type B, C Cluster
The temperature unit can be changed by using the “User Settings” mode of the LCD Windows.
❈ For more details, refer to “LCD Windows” in this chapter.
The fuel gauge indicates the approximate amount of fuel remaining in the fuel tank. The fuel tank capacity is indicated in Chapter 8. The fuel gauge is supplemented by a low fuel warning light, which will illuminate when the fuel tank is nearly empty.
Intelligent Variable Transmission This indicator displays which intelligent variable transmission shift lever mode is selected. Park :P Reverse : R Neutral : N Drive :D Sports Mode : 1, 2, 3, 4, 5, 6 Manual transmission shift indicator This indicator informs which gear is desired while driving to save fuel.
Other information:
Kia Forte 2019-2024 (BD) Owner's Manual: Emission control system
The emission control system of your vehicle is covered by a written limited warranty. Please see the warranty information contained in the Warranty & Consumer Information manual in your vehicle. Your vehicle is equipped with an emission control system to meet all applicable emission regulations.
Kia Forte 2019-2024 (BD) Owner's Manual: Vehicle identification number, Vehicle certification label
Vehicle identification number (VIN) ■ VIN label The VIN is also on a plate attached to the top of the dashboard. The number on the plate can easily be seen through the windshield from outside. Vehicle certification label The vehicle certification label attached on the driver’s side center pillar gives the vehicle identific
Categories
- Manuals Home
- Kia Forte Owners Manual
- Recommended lubricants and capacities
- Maintenance
- Maintenance services
- New on site
- Most important about car
