Kia Forte: Trunk Trim / Luggage Side Trim
Components and components location
| Component Location |
[4 Door]
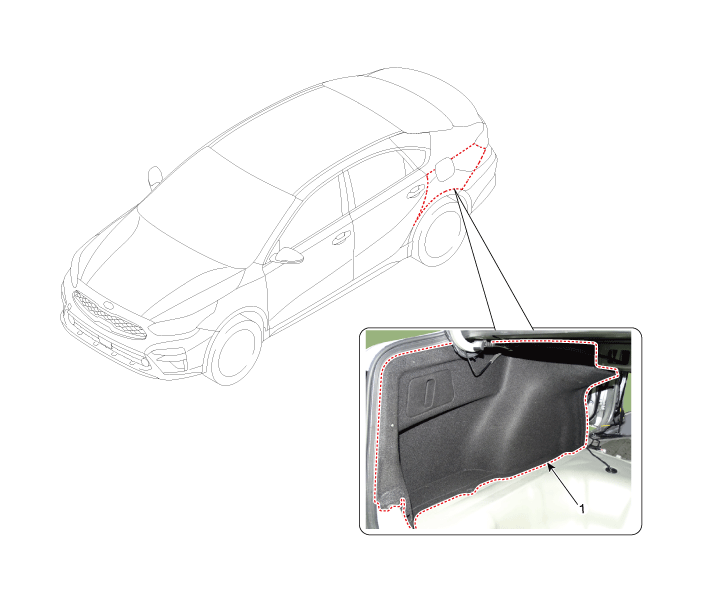
| 1. Luggage side trim |
[5 Door]
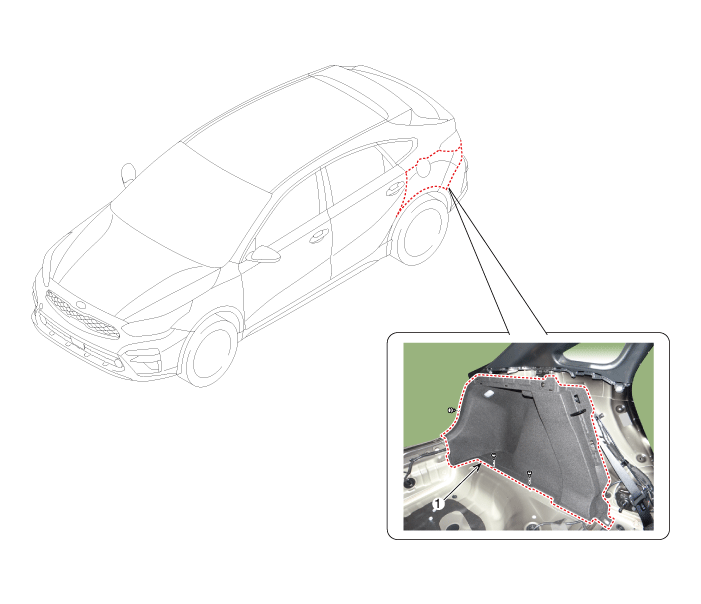
| 1. Luggage side trim |
Repair procedures
| Replacement |
[4 Door]
Put on gloves to prevent hand injuries. |
|
| 1. |
Remove the rear wheel house trim. (Refer to Interior Trim - "Rear Wheel House Trim") |
| 2. |
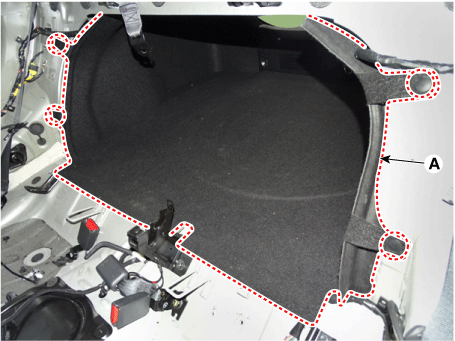
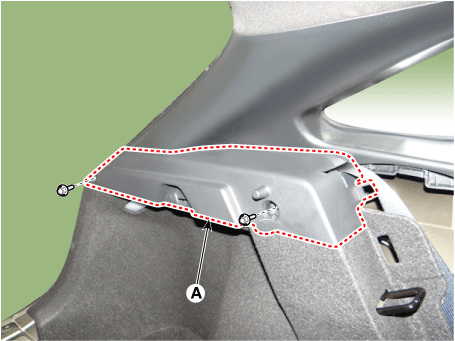
Loosen the clips, remove the luggage side trim (A).
|
| 3. |
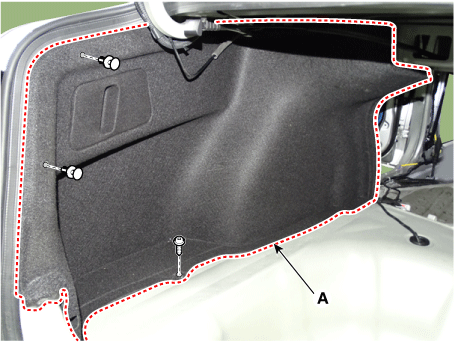
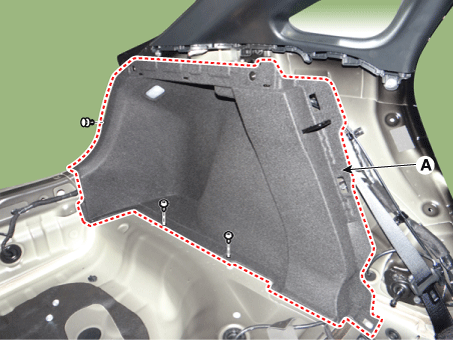
After loosening the mounting clips and screws, remove the luggage side trim (A).
|
| 4. |
To install, reverse the removal procedure.
|
[5 Door]
Put on gloves to prevent hand injuries. |
|
| 1. |
Remove the rear wheel house trim. (Refer to Interior Trim - "Rear Wheel House Trim") |
| 2. |
Remove the tailgate weatherstrip. (Refer To Tailgate -"Tailgate W eatherstrip") |
| 3. |
Remove the rear transverse trim. (Refer to Trunk Trim -"Rear Transverse Trim") |
| 4. |
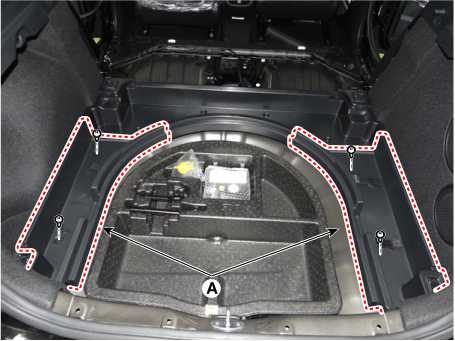
Loosen the mounting screws and remove the luggage floor side tray (A).
|
| 5. |
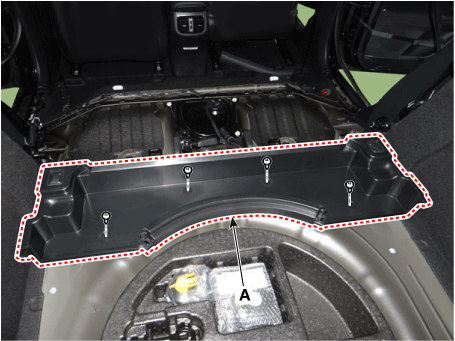
Loosen the mounting screws and remove the luggage floor center tray (A).
|
| 6. |
After lifting up the assist handle caps and loosening the mounting bolts, remove the covering shelf side trim (A).
|
| 7. |
Loosen the mounting screws and clip, remove the luggage side trim (A).
|
| 8. |
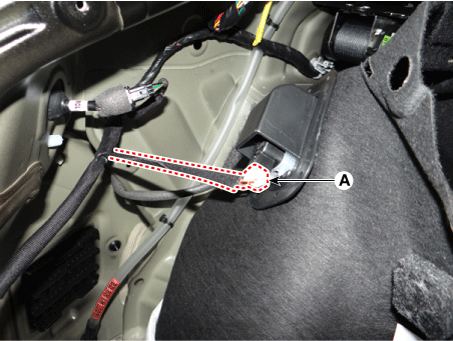
Press the lock pin and separate the various connector (A).
|
| 9. |
To install, reverse removal procedure.
|
 Rear Package Tray Trim
Components and components location
Component Location
1. Package tray trim
Repair procedures
Replacement
&nbs ...
 Rear Wheel House Trim
Components and components location
Component Location
[4 Door]
1. Rear wheel house trim
[5 Door]
1. Rear wheel house trim
...
Other information:
Kia Forte 2019-2025 (BD) Service Manual: Emergency Call System
Components and components location Components 1. Head unit (AVN, Audio) 2. Emergency call switch 3. Emergency call MIC 4. Roof antenna 5. Emergency call unit 6. Supplemental restraint system control module (SRSCM) 7. Emergency call speaker ...
Kia Forte 2019-2025 (BD) Service Manual: Heated Oxygen Sensor (HO2S)
Specifications Specification HO2S [Bank 1/Sensor 1] (Linear type) Item Specification Heater Resistance (Ω) 2.4 - 4.0 [20°C(68°F)] HO2S [Bank 1/Sensor 2] (Binary type) A/F Ratio (λ) Out ...


