Kia Forte: SRSCM / Front Impact Sensor (FIS)
Description and operation
| Description |
| • |
The front impact sensor (FIS) is installed in the Front End Module (FEM). |
| • |
FIS is a remote sensor that detects acceleration due to a collision at its mounting location. |
| • |
The primary purpose of the Front Impact Sensor (FIS) is to provide an indication of a collision. The Front Impact Sensor (FIS) sends acceleration data to the SRSCM. |
Components and components location
| Components |
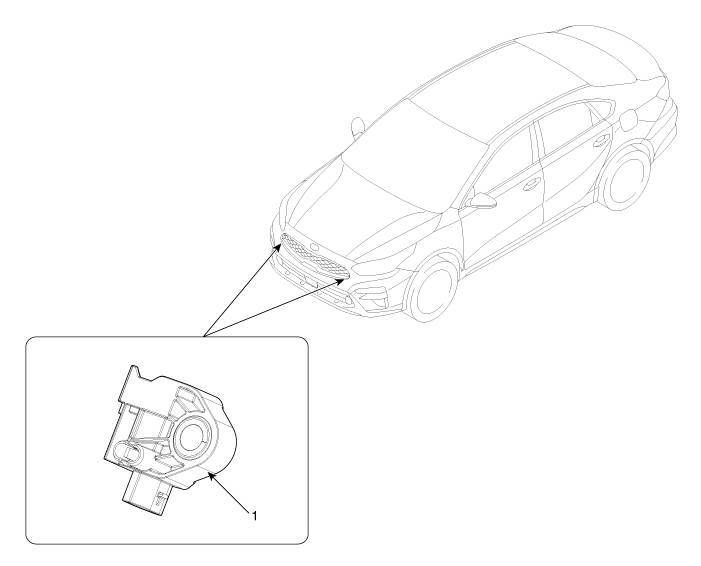
| 1. Front Impact Sensor (FIS)
|
Repair procedures
| Removal |
[LH]
| 1. |
Disconnect the negative battery terminal.
|
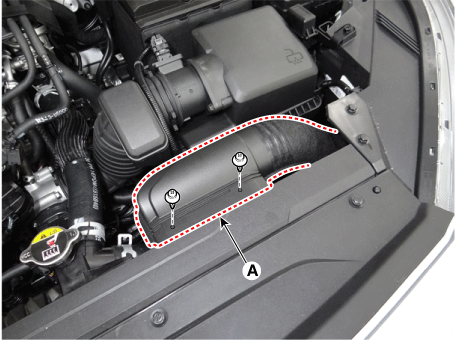
| 2. |
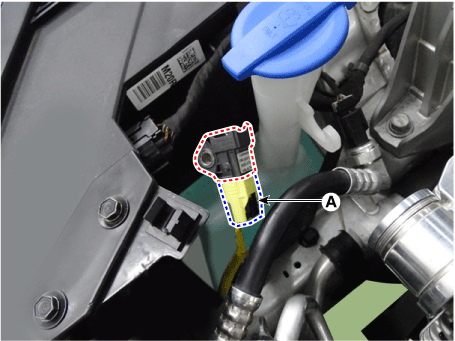
Remove the air duct (A).
|
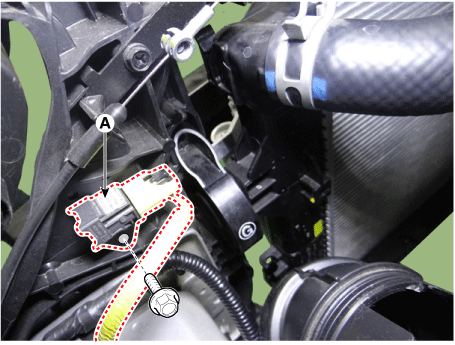
| 3. |
Loosen the bolt and then remove the front impact sensor (A).
|
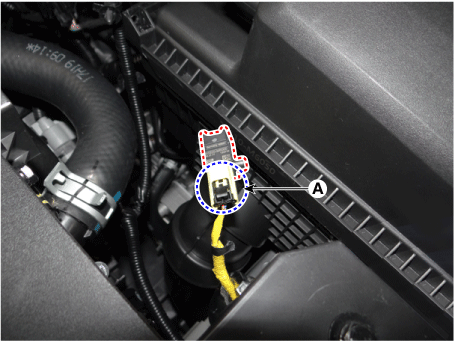
| 4. |
Disconnect the front impact sensor connector (A).
|
[RH]
| 1. |
Disconnect the negative battery terminal .
|
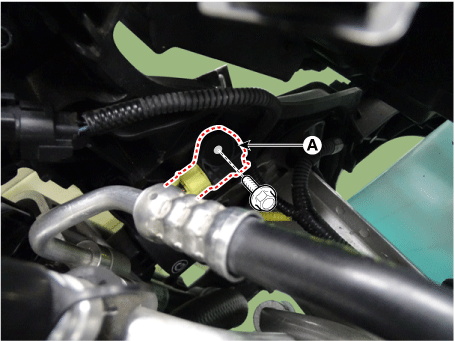
| 2. |
Loosen the bolt and then remove the front impact sensor (A).
|
| 3. |
Disconnect the front impact sensor connector (A).
|
| Installation |
| 1. |
Install in the reverse of the removal.
|
| 2. |
After installing the front impact sensor, confirm proper system operation: Switch ON the ignition. The SRS indicator light should turn on for about six seconds and then off. |
 SRS Control Module (SRSCM)
Description and operation
Description
The primary purpose of the SRSCM (Supplemental Restraints System Control Module)
is to discriminate between an event that warrants restraint syste ...
 Side Impact Sensor (SIS)
Description and operation
Description
•
Side Impact Sensor (SIS) system consists of two Pressure Side Impact
Sensor (P-SIS) installed at each center of the front doo ...
Other information:
Kia Forte 2019-2025 (BD) Service Manual: Sunroof Switch
Components and components location Components Repair procedures Inspection 1. Remove the overhead console lamp. (Refer to Lighting System - "Overhead Console Lamp") 2. Check for continuity between the terminals. If t ...
Kia Forte 2019-2025 (BD) Service Manual: Emission Control System
Service data Service Data Purge Control Solenoid Valve (PCSV) ▷ Specification Item Specification Coil Resistance (Ω) 22.0 - 26.0 [20°C(68°F)] Tightening torque Tightening Torques ...


