Kia Forte: Windshield Wiper/Washer / Front Wiper Arm
Components and components location
| Components |
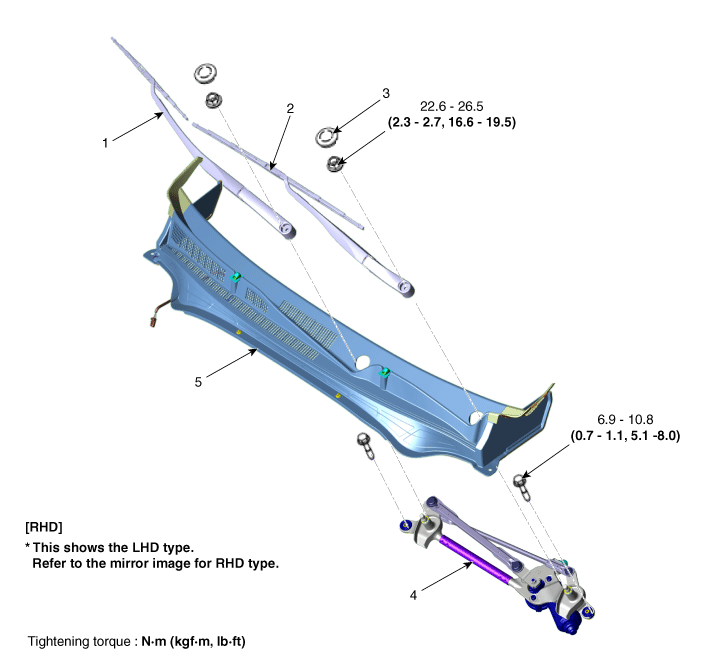
| 1. Wiper arm & blade (Passenger
) 2. Wiper arm & blade (Driver) 3. Wiper arm cap |
4. Wiper motor & linkage assembly
5. Cowl top cover |
Repair procedures
| Removal |
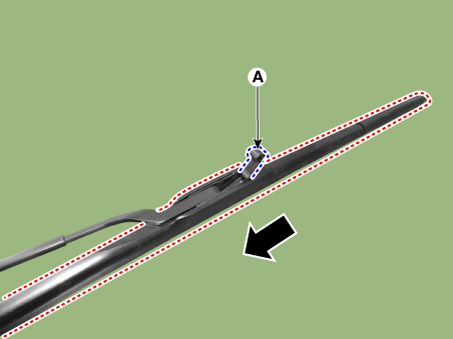
| 1. |
If necessary, remove the blade by pushing it in the direction arrow after opening the hook (A).
|

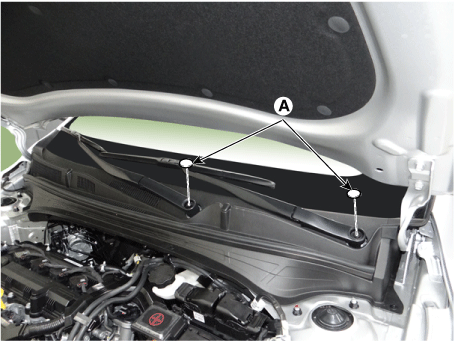
| 2. |
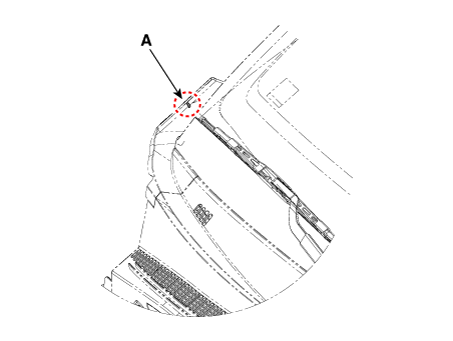
Remove the wiper caps (A).
|
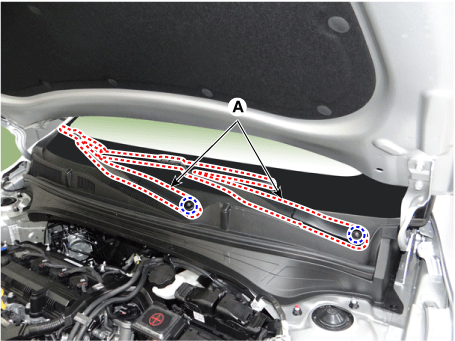
| 3. |
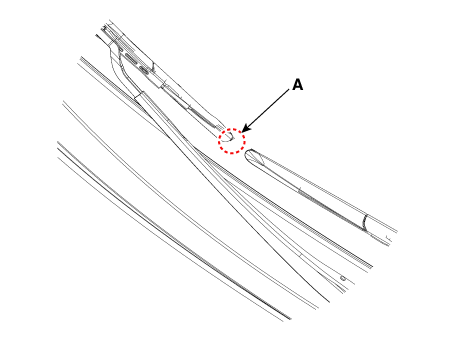
Remove the wiper arms (A) after loosening the nuts.
|
| Installation |
| 1. |
Install in the reverse order of removal.
|

 Windshield Wiper/Washer
Components and components location
Component Location
1. Washer reservoir & Pump assembly
2. Wiper arm & blade
3. Multifunction switch
4. Wiper mo ...
 Front Wiper Motor
Components and components location
Components
1. Wiper arm & blade (Passenger
)
2. Wiper arm & blade (Driver)
3. Wiper arm cap
4. Wiper motor &am ...
Other information:
Kia Forte 2019-2025 (BD) Service Manual: Brake System
Service data Service Data Item Specification Master cylinder Type Single Cylinder I.D. Ø 22.22 mm (0.875 in) Piston stroke 45±1 mm (1.77 ± 0.039 in) ...
Kia Forte 2019-2025 (BD) Owners Manual: Trip A/B (For type A cluster)
Tripmeter (1) The tripmeter is the total driving distance since the last tripmeter reset. - Distance range : 0 ~ 1599999 km or 0 ~ 999999 mi. To reset the tripmeter, press the RESET button on the steering wheel for more than 1 second when the tripmeter is displayed. - ...
